"And my people shall dwell in a peaceable habitation, and in sure dwellings, and in quiet resting places." Isaiah 32:18

Wednesday, November 19, 2014

It's Here!

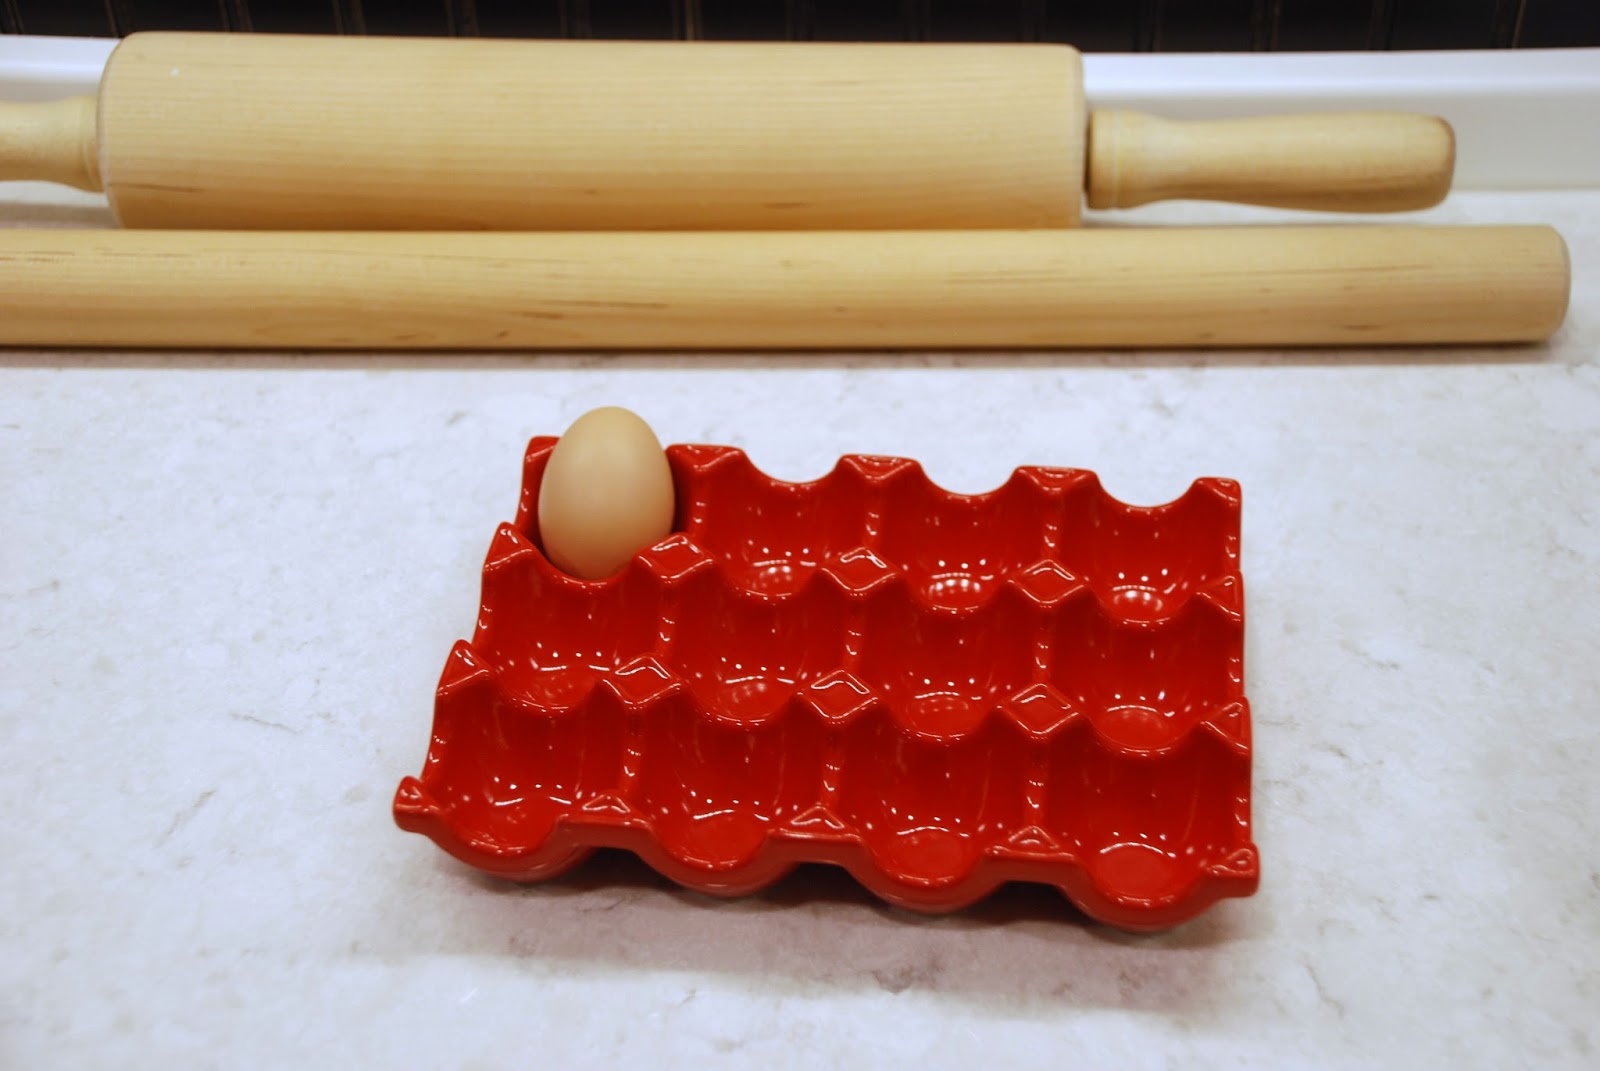
 Yea.....look what Joel found in one of the nests of the chicken coop last evening.  He had gone down to the coop, A.K.A. The Chicken Castle, and was putting the chickens to bed for the night when he decided to check the nests and lo and behold, there was this perfect, light brown egg...just sitting there waiting to be discovered.
He was so excited when he walked back in the door of the farmhouse and pulled his find out of his jacket pocket for me to see.   It's fairly small, so, we don't know if it's from one of the guinea hens (who lay smaller eggs than the Buff Orpington's) or if it's just because it's one of the first eggs a hen has produced.   Only time will tell.
As  more hens start laying eggs we will be able to compare the sizes and eventually they should all be approximately the same size.   The egg is kinda dwarfed in the egg dish I bought in anticipation of collecting plenty of eggs daily.   Pretty soon we will have enough eggs to make extravagant things such as angel food cake (which requires a dozen egg whites!), and quiches, flan, puddings, omelets and oh, so much more.   Let the baking begin!

"Egg"-actly where we should be,
Debbie

Tuesday, November 18, 2014

Flyway

Yes, apparently we are blessed to live under part of the flyway for Canadian Geese making their yearly migration south to warmer climes.   As I went outside a few days ago, I thought I heard some geese and had to stop and listen carefully to make sure what I heard was really geese honking.   As I looked up toward the edge of our woods, I could see the distinct "V" moving over the tree tops, high in the frosty sky.

They were honking and flapping their wings and making time, trying to head south before winter settled in for the next few months in their summer homes up north.   It's been a long time since I heard and saw the majesty of these great birds with my own eyes and ears and it made tears prick the back of my eyes as I watched and listened to them.   And then I remembered to grab my camera!   Yikes!    I hope you will indulge me as I wax poetic about reliving the sights and sounds of my childhood......all over again here at Whispering Oaks.
At first I thought it was just one group of geese flying over the farm.
But in just 10 minutes I watched as hundreds and hundreds of geese flew overhead.
Some of them were flying at higher altitudes than the others.
And some were in perfect "V" formation.
 While others were in the process of regrouping and changing the leader....something one goose will do to break the wind for the geese following him.   And then when he gets tired, another goose will take the lead....and start the cycle all over again.   It's really a thing of beauty to watch them do what comes naturally to them.
And then they were gone.   Hopefully they found a lovely farmer's field with tall stalks of dried corn where they can rest for the night and feast on corn before taking off again for another long day of flying. 

Meanwhile back inside the studio, we three hung the upper cabinets and shimmed the lower cabinets and screwed them all securely to the wall.   Ahhhh.....another huge project checked off the list.
Yesterday was rainy, snowy, super windy and bitterly cold, so it was a great day to stay inside and play in the kitchen.   Remember all that pumpkin I had leftover?   Well, I took 2 cups of the puree, added 1 cup of canned evaporated milk, 2 cups applesauce, 1/4 cup of honey, 1/4 cup shredded coconut, 1/2 tsp. ground nutmeg and mixed it all together.   The mixture got divided up onto 4 of my sheets and placed in the dehydrator for 8 hours.  

Voila!   Pumpkin Fruit Leather!   For some added flavor I sprinkled some finely chopped dried cranberries onto 2 of the sheets.  
They all get rolled up and now they can be stored in a zip-lock bag and are snacks....ready to be grabbed on a moments notice.   Gotta love all things pumpkin!
Isn't it pretty?   Recipe courtesy of www.commonsensehome.com.   And it sure beats the fruit roll up things in the store that are full of preservatives and high fructose corn syrup.   Now I'll have to experiment with other fruits.

Well, that's all that's happening around here.   This morning when I woke up the ground had a covering of fresh snow and it was 18 degrees.   Brrrrrrr......it's too early for it to be this cold.  But I have to admit I love wearing warm sweaters, flannel and soft hats and mittens for a change from flip flops and tank tops.

Staying warm,
Debbie

Friday, November 14, 2014

Stocking Up

 I don't know about you, but every few months I like to take stock of what's in my pantry, refrigerator and cupboards.   We all go to the grocery store once or twice a week, or sometimes even more frequently......come on, you know who you are.  I've been guilty of the same thing myself.   But when you add up all those extra trips over a year's time, you realize how much time, gas and energy is wasted with those extra trips.

Over the years I've tried to be more efficient about those trips to the store because studies show that with each trip down those enticing aisles, we tend to make spur of the moment purchases, which really adds up when we step up to the cash register.  Yikes!   Don't wanna age myself, but I can easily remember when I would spend $35 a week on groceries and now that will hardly pay for one bag at the store.  

Having said all of that, I looooove to go to Sam's Club and really stock up.  I mean fill the back of my Tahoe kind of stock up.   Everything from paper towels (still trying to wean myself off of those babies) and toilet paper(ummm, gotta have that) to huge bags of shredded cheese.   And I have tracked the savings of buying in bulk over paying the higher prices at the grocery store.  It's really quite a savings, anywhere from a mere 15% to almost 42%!   Now that's something I can get excited about.

Well, we did just that kind of grocery shopping yesterday in preparation for the winter.   Hey!   If the roads are slick in January, I don't want to drive 18 miles to town for toilet paper, you know what I mean?  Sometimes it takes a little creative storing to find a home for all those duplicates, but we have finally developed the space to hold most of our huge purchases.   One thing that has helped enormously is our vacuum sealer.   All that shredded cheese got bagged up in smaller sized bags and sealed to protect it from freezer burn.  And now when I make our homemade pizzas, I just pull out a bag of shredded mozzarella and I'm ready to call out, "Mangia"!

I'm not prepared to make my own cheeses.......yet......that will have to wait until we get our own cow, so we continue to buy those items in bulk.   But one thing that really gets me irritated is the high price of chemical cleaners.   And I don't really want all those chemicals in our house anyway.   So, I keep trying new recipes for non-chemical cleaners we make here out of simple ingredients in the kitchen.   One of those is an all-purpose cleaner for counters in the kitchen and bathroom  

Vinegar is a natural killer of germs...that's one of the reasons it has been used for centuries to cure food for long term storage.   Well, it works equally as well to clean surfaces around the home.   But, the smell!   Aaargh!   It's just too strong for me...even if it does dissipate as soon as it dries.   I finally found a recipe that works for me.

I had some lemons that were starting to get those brown spots on them, making them the perfect candidate for my lemon cleaner.   While they are not really pretty when the spots appear, the oils in the skin are still available and will scent our vinegar nicely.
So, the lemons get peeled, making certain that there are no traces of pulp clinging to the peel.   Place all the peelings in a mason jar and keep on peelin' until the jar is full.
Here the jar is full of peels and I've got my super-duper sized really cheap vinegar from Sam's at the ready.   Just pour the vinegar over the peels and seal the jar with the lid.   And all the lemon pulp can be juiced and used in recipes if kept in a container in the refrigerator.   No waste here!
The sealed jar just sits for 2-4 weeks until the lemon peels give up all their lovely fresh scent to the vinegar.   Mine sits on the window sill in the laundry room.  The longer the mix sits, the more lemon-y it will smell.   I try to let mine sit for the whole 4 weeks.   Once your waiting period is up, just strain the vinegar solution into a spray bottle labeled for cleaning and you're ready to don those rubber gloves and scrub away.  When using your scented homemade cleaner, you will still smell some vinegar, but nothing like it would be using vinegar straight from the bottle.
As you can see from my label, the last time I made a batch of cleaner I used orange peels instead of lemons.   Use whatever you like.   You can even add a few drops of lemon essential oil to boost the lemonyness.   Is that even a word?   Well, it is now.  You get the idea.   And this mixture costs just pennies....especially since you were already using the lemons or oranges in a recipe and were just going to throw away the peels.   Now you have a really great way to put those peels to good use.  I hope you'll give this a try, you might discover as I have that it isn't so hard to give up those store bought cleaners after all.

Now I have to go make some more laundry detergent, too,
Debbie

Thursday, November 13, 2014

One Step Closer

After a few failed attempts to figure out our flooring installation, Joel and I got into the groove and "got her done".   Whew!   The ceiling and flooring were two huge endeavors and we are both soooo glad to have them behind us.   Now, it's on to the fun stuff like trim work and cabinets.   Those are easy compared to the ceiling and flooring.
We choose a medium toned wood laminate plank flooring that actually went in fairly easy once we got into the groove.   We knocked the whole floor out in 2 days.   Yippee!   And I love how it looks.   You never know exactly how it's going to turn out when you order flooring while looking at one little piece of it.....it can turn out quite different when you do it in a whole room.   But I love the tone of this wood.

By the time all the sewing furniture and area rugs are in here it will serve as a nice neutral backdrop.   Can't hardly wait to start bringing my sewing goodies in here, but that is going to have to wait another couple of weeks.   We still have plenty to finish up in here first.
I did get the wood window frames painted and we installed those a couple of days ago.   Next, window trim......bought that last night at Lowe's.   But first we need to cut it and I need to give it 2 coats of paint, and then we can install it.
I used to be really afraid of Joel's saw, but now I feel really comfortable using it all by myself.   I managed to do all the cuts of the flooring by myself and am quite proud that I conquered my fear of "The Beast".   Looks like I'll get a lot more practice with Him as I have a lot of cuts to make for the trim of the windows and doors.  To hold down the saw dust we put down a tarp and placed Him in the storage room.   That worked pretty well to contain the dust for now.
I took this shot while standing in the storage room, looking out into the main part of the studio.   It sure looks like a lot of real estate in there.   But I bet it'll soon get filled up once we start moving my sewing furniture in there....and I have even designed a space for an old, large round oak table that I plan on using for scrapbooking and maybe some sewing classes. 
I think we have just enough flooring left to do the floor of the enclosed breezeway we have yet to build that will connect the studio to the house.   And I think I may use the leftover ceiling planks as a backsplash over the cabinets.....or maybe as a different wall covering in the breezeway.   We'll see how that develops over the next month.   At least now I feel like there is some light at the end of the tunnel.  

I am excitedly waiting for the day when I can sit in my favorite chair in the studio, watching Sunday afternoon football while working on some hand sewing or knitting......and not feeling guilty watching football on the tv in the living room.   Neither of my guys like football.   I know!   Go figure!   But I love it and now I'll soon be able to watch all I want in my very own "girl cave".   Yippee!

Getting there,
Debbie

Sunday, November 9, 2014

Pumpkin in Jars

Yes, I seem to be behind the proverbial 8 ball these days.....especially when it comes to canning the produce from the garden.   We have so many projects going on behind the scenes that sometimes I hurriedly harvest food from the garden, breath a sigh of relief that I picked it before it was too late, and then kinda forget all about the fact that I still need to either eat it, freeze it, dehydrate it or can it before it rots.   Yeah, I know......dumb blonde.    Actually, it's more like new Farm Girl.  Giggle.
 We've been so preoccupied working on the studio that the pumpkins just got lost in the shuffle.  And, besides, I really liked using them as decorations for Fall.  Umm, yeah, that's my story and I'm sticking to it.   As you can see, though, the pumpkins were starting to develop signs that they would soon rot if I didn't do something with them.   Alright, alright, I guess it's time to figure out how to can pumpkin.
It took a while, but I started by cutting the first 3 of them into manageable wedges.  I have NEVER cut into pumpkins with such tough skins.   This year I decided to grow a variety called Amish Pumpkins as they are supposed to be delicious pie pumpkins.   These would most definitely not make good Jack-O-Lanterns......your thin knife would break trying to cut out eyes, a nose and a mouth.   I've got a good sized blister on my right hand from working with these orange orbs over the last 2 days.

The bowl on the left is for the pigs....they love to devour the rinds, seeds and flesh of the pumpkins.   The bowl on the right is for the chickens......they get the inner seed/gooey stuff.   Yes, that's the actual scientific name for the inside of a pumpkin.....inner seed/gooey stuff.   Seriously, look it up!  Anyway, the animals went crazy for their pumpkin treats 2 days in a row.   The pieces are then placed into the Ball jars and boiling water is ladled over them....put on the lids and screw rings and repeat.

Thank goodness my vegetable peeler worked just fine removing the outer peel.    Then I cut the pumpkin into 1" pieces.   After that, everybody gets dumped into a pot of boiling water for 2 minutes to blanch the pieces of orangey goodness.   I can almost taste the homemade pumpkin pie and bread now.
Because pumpkin is a low acid food, it has to be processed in a pressure canner instead of a water bath canner.  That raises the temp inside the jars high enough to kill nasty bacteria....and we don't want nasty bacteria, do we?

 Seven quart jars fit nicely into the pot, 3 quarts of hot water gets poured over the jars and the lid gets locked onto the pot.   Turn on the heat, bring the pressure up on the gauge and watch it for 90 minutes to make sure the pressure doesn't go too high or drop too low....if it drops below 11 lbs. I have to start timing the processing time all over again.   And no one wants me to have to do that......no, let's not go there.
Because there is so much heat and pressure built up in the canner, you need to let it sit and cool down for several hours before even attempting to open the pot.   That meant I did one batch early Friday morning, let it cool down and did another Friday night so it could cool down overnight.   Then I repeated the whole process on Saturday.   By Saturday night I still had pumpkin left over!!!  

 Well, I was done canning those babies, so I cooked the remainder of the pumpkin, drained it and pureed it in my Cuisinart.   It sat in the refrigerator overnight to chill and now this morning I will portion it out and freeze it.   Hey, there's more than one way to skin a cat.....or something like that, right?

In between all this fun (ahem), Joel and I finished the ceiling in the studio.  Yippee!
Because of Joel's eyesight, I did all the cuts with the saw and the jigsaw.   I'm feeling pretty empowered right about now, can you tell?   And can I just say it?   I HATE the nail gun.   Working overhead with that sucker for 2 weeks has killed my shoulders.   I am soooooo glad we are done working on the ceiling.   But I love how it has turned out....just farm house-y enough to make me smile.
Joel's really glad the ceiling is done, too.   He had wanted to have it dry walled, but I pleaded for the wood and he readily admits now that it looks awesome.    I think he'd say anything now that this mammoth job is complete.  

So, yesterday we built the boxes to frame in the inside of the window frames.  I got them painted while the guys blew some of the bajillions of leaves into piles and burned them.  I guess we'll try and install the frames sometime over the next few days and then it will be time to trim out the doors and windows.   After that, the flooring can commence.  

We're getting closer to "done",
Debbie

Thursday, November 6, 2014

Cock-A-Doodle-Doo

Yes, our roosters have matured to the point of crowing early in the mornings.   It was so cute to watch them exercise their voices over the last few weeks as they strutted around the chicken pasture, trying their best to crow.   The sounds that came out of their beaks was a bit weak, but they were persistent and then, finally, one of them crowed.  Joel and I were standing there watching them and the rooster was so proud of himself.....and a little surprised, too!
Meanwhile, the "girls" daintily walk around the pasture making the sweetest soft coo-ing noises. 
It's been so interesting to watch them all grow over the last 5 months and to see the maturing in their demeanor as well as their physical bodies.  Pretty soon it will be time to cull out the majority of the roosters to eliminate any fighting over the "girls".   That means humanely butchering the roosters to fill our freezer.   Such is the cycle of life on the farm.
Last week we cleaned out the nesting boxes in preparation for the hens to start laying their first eggs.   The boxes got lined with clean straw so the girls have a nice soft, clean place to lay the eggs.   While we were in the coop the guys looked up to see where a noise was coming from up near the top of the highest roost.  
 One silly bird had followed us into the coop and flew up to the top roost to watch what was going on inside.  
Then it was time to put fresh straw in the Pig Palace.   Funny thing about pigs.....they are the Diva Decorators of the animal kingdom.   No, I'm serious!   Pigs are known to rearrange the straw in their shelter until it is "just right".   They don't like it too thick, and they don't like it too thin.....and it has to be piled up in a precise manner to suit them.   It's hilarious to watch these muddy, grunting, slobs get fanatical about rearranging their straw in their shelter.  Yup, these are the same animals that pee in their water trough, roll in mud, and eat off the ground.  But don't mess with their shelter straw!
See?   There they go, moving the straw around to suit themselves.
"Ahhhh, that's better now.   Whew!   Glad that's done, aren't you Bacon?  Yes, Pork Chop, thanks for all your help."
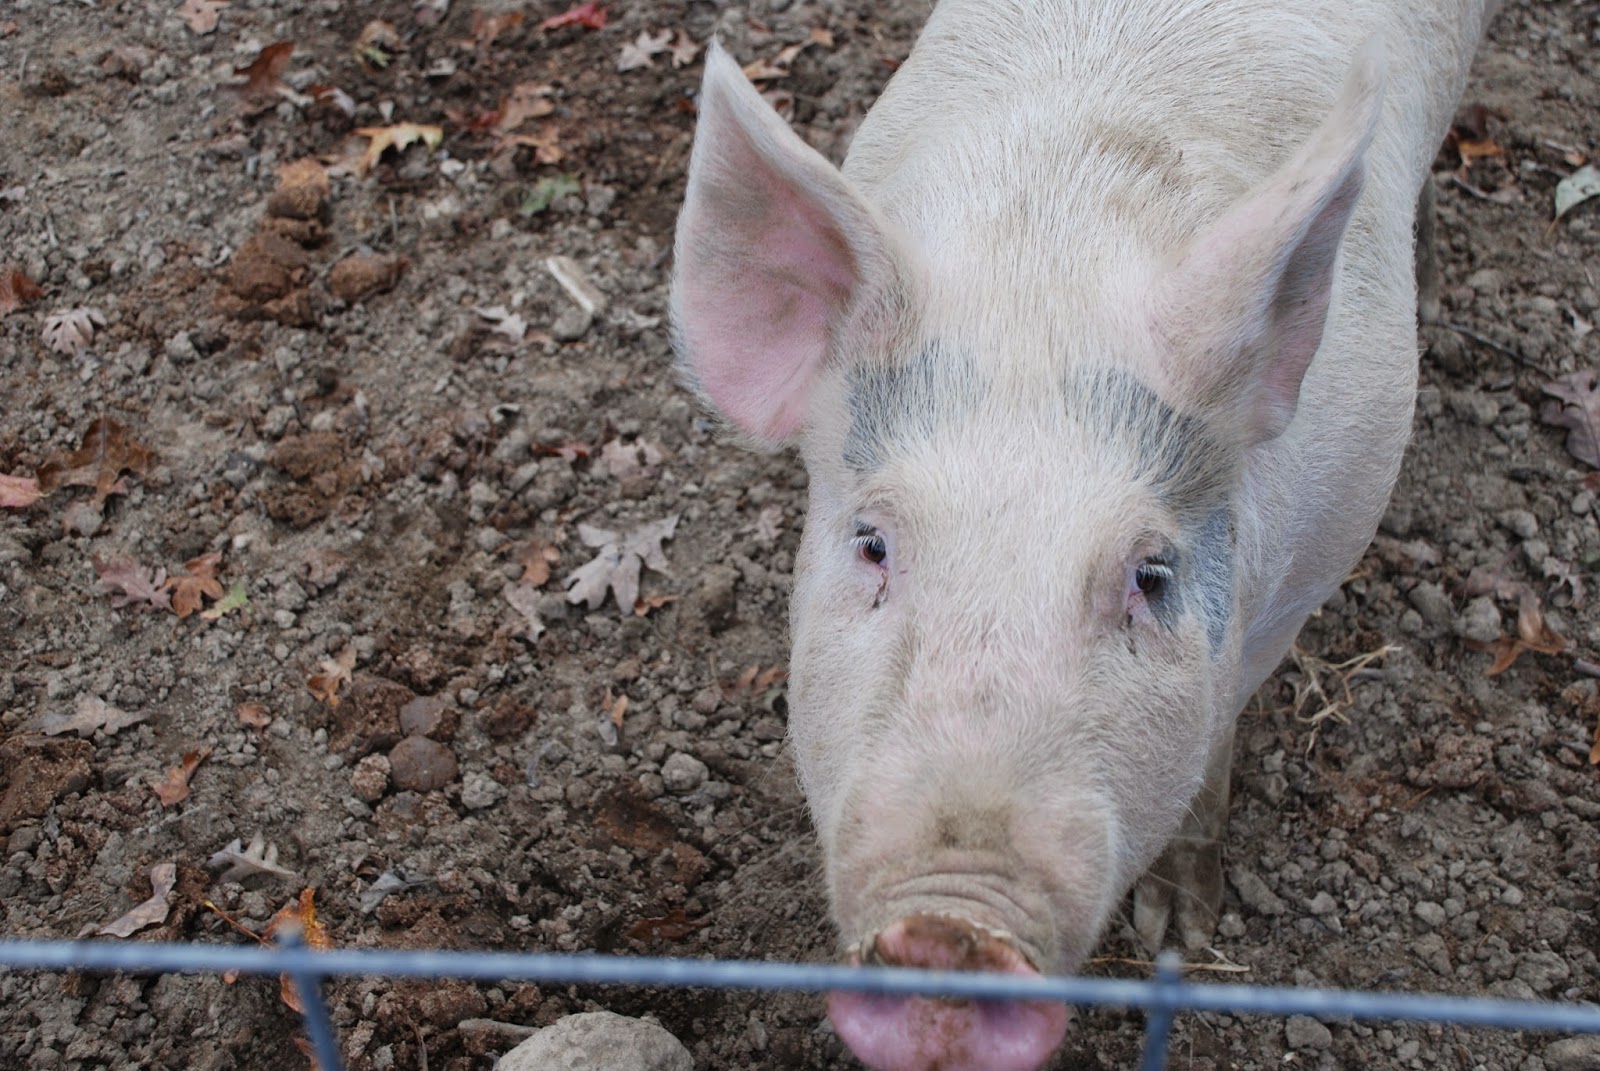
Yes, you're a cutie.....well, sorta.   Pork Chop has the sweeter disposition of the two pigs. 
Bacon, however, will practically knock you over when you walk into the pen with her....she's so excited to see you.    She and Jeremy were having a conversation.   Don't ask!
And here is the last of our critters, Molly.    She has been under the weather this last week with a bladder infection.  One of her favorite places to relax is in the crack between the back cushion and the firm back of Joel's comfy leather love seat.   Doesn't she look rather pitiful with her ears flopped on top of the cushion?

Top of the Mornin' to you,
Debbie

Tuesday, November 4, 2014

Studio Update
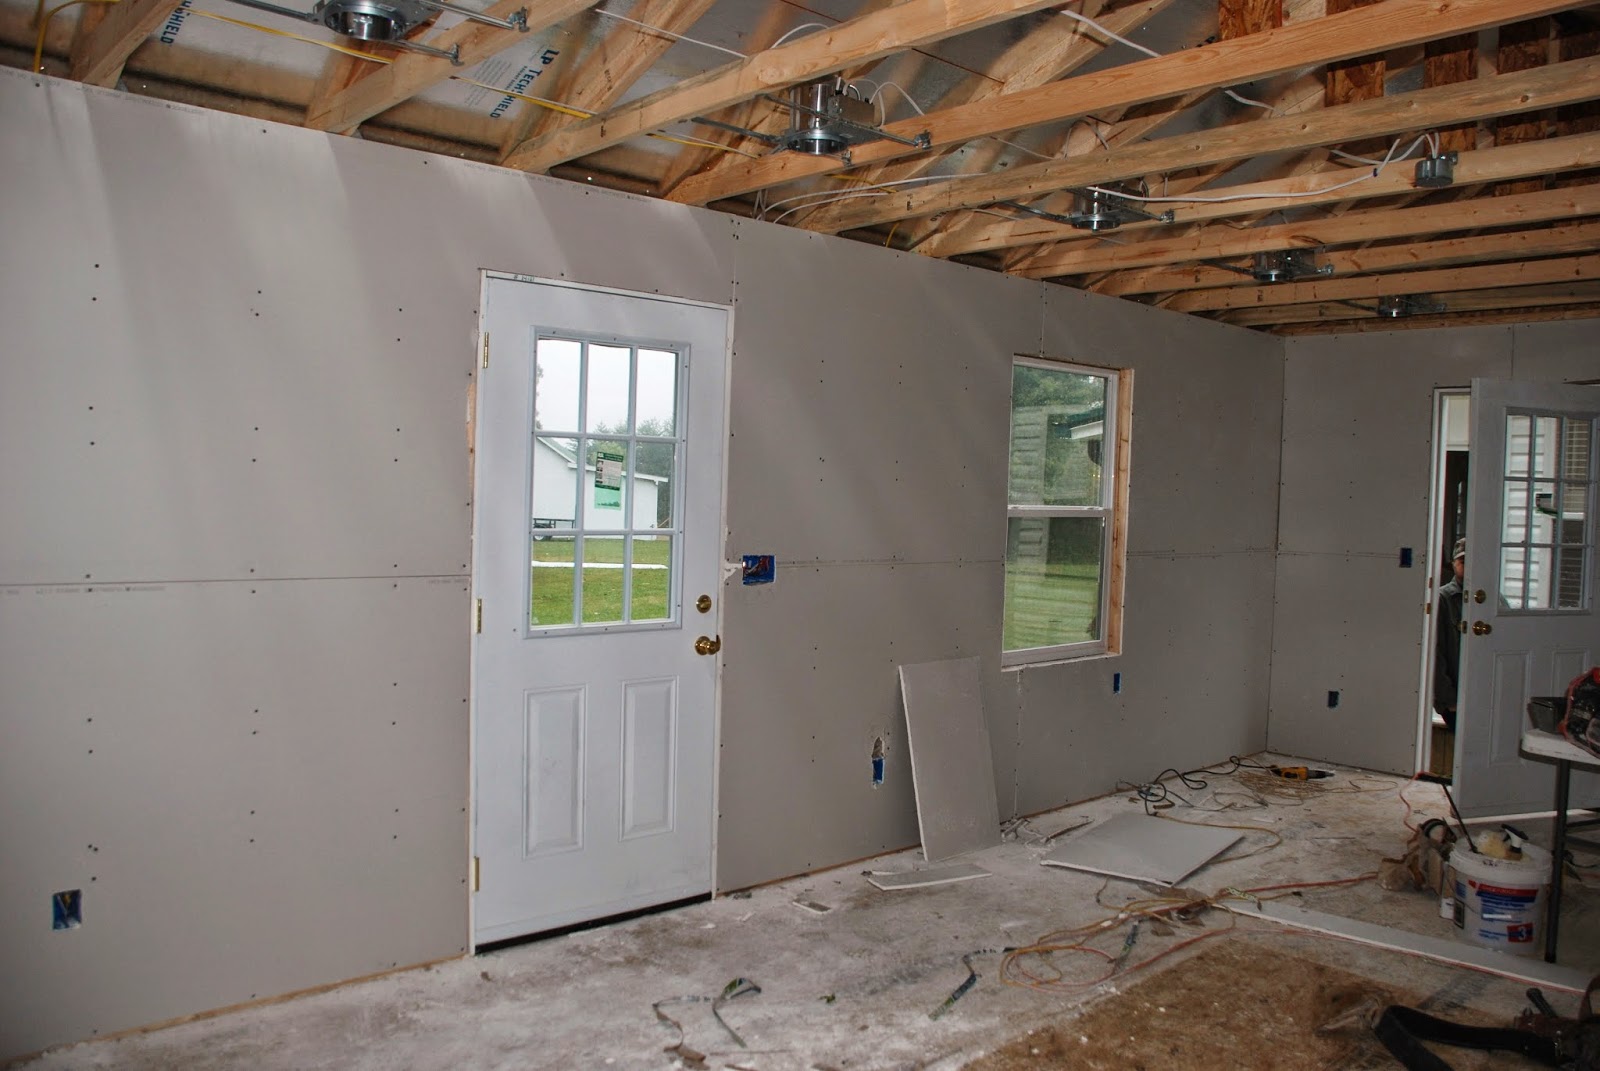
In case you didn't know it, we recently brought a building onto the land near the house and it will soon become my new sewing studio.  Joel and I have been busy working on projects in the studio in between taking care of the pigs and chickens and putting the garden to bed for the winter.   For a girl who likes to feel productive, the farm life certainly lives up to the popular saying that the work on a farm is never done.    And yes, I love all that we accomplish every week.

As for the studio, it began life as an empty shell of a building....one that was completely finished on the outside, but the inside was void of anything but rafters and stud walls.    Over the last month we've had a combination A/C and heat unit installed for climate control.   Whew!   Just in time, too, before the snow started blowing and the temps dropped into the 30's. 
 It's an energy efficient Mitsubishi unit that will climate control both the studio and the old sewing porch.   That's going to be a bonus for us this winter, especially for me as my computer and desk are going to remain out on the sewing porch and I was a little cold out there last winter.

Because the workers were back and forth installing the units in the sewing porch and the studio we had to close the door to the kitchen in order to keep the dogs corralled.  They just kept watching out the long window of the door to keep an eye on all the activities.
Meanwhile, outside the install went great and is neat and tidy.   The area between the new studio and the farmhouse will soon be attached with an enclosed breezeway so I can pad out to the studio in the morning in my jammies without having to go outside.   Woo-hoo!  Since I am in there at all hours of the day and night it just made sense for us to connect it to the house.   I'm not exactly sure when that is going to get done, though.   Ummmm, yeah, just another "little" project.

Next came the dry wall guys.   It took them the better part of a week to dry wall, mud the seams, let the mud dry and sand and repeat until the walls were nice and smooth.  So glad they did it and not us!
Then it was my turn.....to paint, that is.   I decided to paint the whole studio the same color as the kitchen and laundry room.  I love this soft robin's egg/Tiffany box blue.   It's a cheerful color and  makes me happy just to look at it.

And here you can see how small the inside A/C unit is as it is tucked up high on one wall.   It has worked great while we are in there working over the last 2 weeks during the ups and downs in the temperature outside.   I'm so grateful to have climate control where I plan on spending a lot of hours each week.
It is taking me 2 weeks, but I have been really busy painting the tongue and groove ceiling boards for the huge main room of the studio.    The small back room that is for storage has a drywall ceiling, so, that is already painted and ready for flooring.   I can only paint so many boards at one time as there simply is not enough space to lay out wet 8' boards....I'm currently using 2 sawhorses and a 6' folding table.   As soon as they are dry, Joel and I are installing them on the ceiling as well as putting thick insulation up above the boards, and then I paint more boards and the whole process begins anew.
This is how far we got yesterday.   At least we are more than halfway and feel like we have a "system" going now.    It takes more time when we get to the ceiling lights and I have to stop and draw circles on the boards and cut them out with the jigsaw, hoping to line up the arc cuts on the boards with the lights.   I was teasing Joel yesterday that it's a good thing I'm a quilter and love geometry because the skills from both have come in handy while making these cuts on the boards.  

It's going to take us a considerable amount of time to complete this mammoth project, but it's going to give us much needed additional storage in the back room and also give me a real place to do my sewing....hopefully to blossom into a business once again.  More on that in the year to come.  Then wait till you see what we have planned for the old sewing porch.

Thanks for checking on us,
Debbie